Why You’ll Love This Recipe
This gluten-free sandwich bread has several advantages:
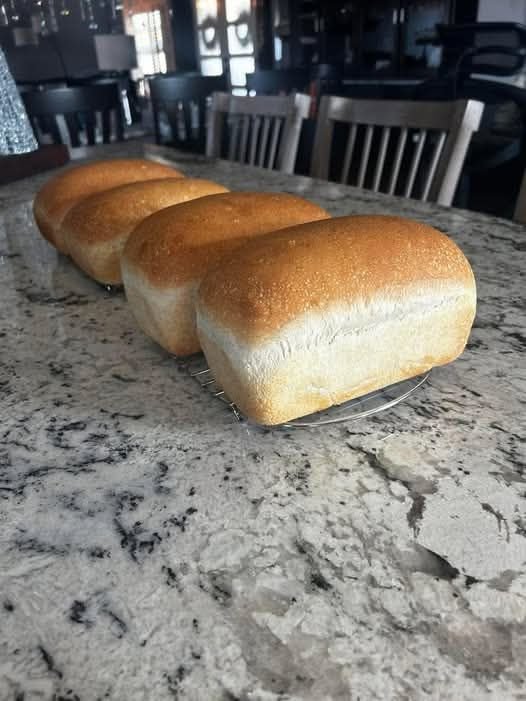
- Soft and fluffy texture
- Perfect for sandwiches and toast
- Simple ingredients
- Stays fresh longer than many gluten-free breads
- Easy to slice without crumbling
Whether you follow a gluten-free diet due to intolerance, sensitivity, or personal preference, this bread will quickly become a household favorite.
Ingredients
- 3 cups gluten-free all-purpose flour blend (with xanthan gum)
- 1 tablespoon sugar or honey
- 2 ¼ teaspoons active dry yeast (1 packet)
- 1 teaspoon salt
- 1 cup warm milk (or dairy-free milk)
- 2 large eggs, room temperature
- 3 tablespoons olive oil or melted butter
- 1 teaspoon apple cider vinegar
- ½ cup warm water
Instructions
1. Activate the Yeast
In a small bowl, combine the warm water, sugar (or honey), and yeast. Stir gently and allow the mixture to sit for about 5–10 minutes until it becomes foamy. This step ensures the yeast is active and ready to help the bread rise.
2. Mix the Dry Ingredients
In a large mixing bowl, whisk together the gluten-free flour blend and salt. Using a flour blend that already contains xanthan gum helps give the bread structure and elasticity.
3. Combine the Wet Ingredients
In another bowl, whisk together the warm milk, eggs, olive oil (or melted butter), and apple cider vinegar.
Slowly pour the yeast mixture and wet ingredients into the dry ingredients.
4. Mix the Dough
Using a stand mixer or hand mixer with dough hooks, mix the dough for about 3–5 minutes until it becomes smooth and slightly thick. Gluten-free dough is typically more like a thick batter rather than traditional kneadable dough.
5. First Rise
Grease a 9×5-inch loaf pan and transfer the dough into the pan. Smooth the top with a spatula.
Cover the pan with a clean kitchen towel or plastic wrap and let the dough rise in a warm place for 30–45 minutes, or until it has nearly doubled in size.
6. Bake the Bread
Preheat the oven to 375°F (190°C).
Bake the bread for 35–40 minutes, or until the top is golden brown and the loaf sounds hollow when tapped lightly.
If the top browns too quickly, loosely cover it with foil during the last 10 minutes of baking.
7. Cool Before Slicing
Remove the bread from the oven and allow it to cool in the pan for about 10 minutes.
Transfer the loaf to a wire rack and let it cool completely before slicing. This step is important because gluten-free bread firms up as it cools.
Tips for Perfect Gluten-Free Bread
Use room-temperature ingredients
Cold ingredients can slow yeast activity and affect the rise.
Measure flour accurately
Too much flour can make gluten-free bread dense.
Do not overbake
Overbaking can cause dryness.
Let it cool fully before cutting
This prevents the loaf from becoming crumbly.
Variations
This recipe is easy to customize with additional flavors.
Seeded Sandwich Bread
Add sunflower seeds, sesame seeds, or flax seeds on top before baking.
Herb Bread
Mix in dried herbs like rosemary, oregano, or thyme.
Dairy-Free Version
Use almond milk, oat milk, or soy milk instead of regular milk.
Honey Oat Bread
Add 2 tablespoons of gluten-free oats to the batter for texture.
Storage
Gluten-free bread is best enjoyed fresh, but it can be stored easily.
- Room Temperature: Store in an airtight container for up to 2 days.
- Refrigerator: Keeps for about 4–5 days.
- Freezer: Slice and freeze for up to 2 months.
To reheat, toast slices or warm them lightly in the oven.
Serving Ideas
This gluten-free sandwich bread works perfectly for:
- Classic sandwiches
- Grilled cheese
- Avocado toast
- Peanut butter and jelly
- French toast
- Breakfast toast with butter and jam
Its soft texture makes it versatile for both sweet and savory toppings.
Final Thoughts
Homemade gluten-free sandwich bread is a game-changer for anyone following a gluten-free lifestyle. With its soft crumb, light flavor, and perfect sandwich texture, this bread proves that gluten-free baking can be just as delicious as traditional baking.
Once you try this recipe, you’ll discover that making your own gluten-free bread at home is not only satisfying but also far more flavorful than most store-bought options. It’s a simple recipe that delivers a bakery-quality loaf right from your own kitchen.