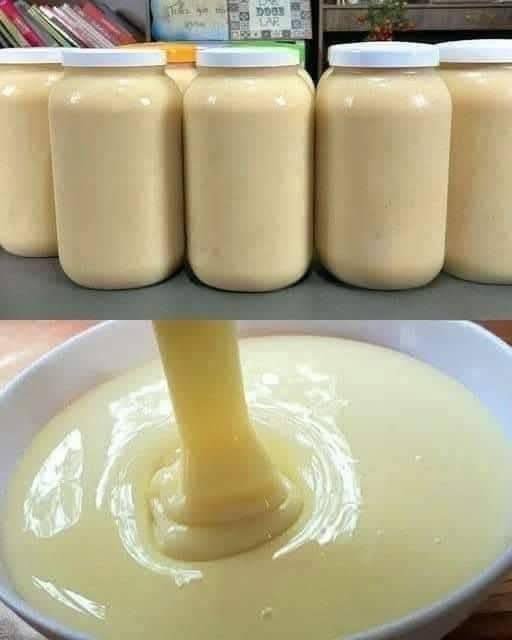
Sugar-Free Condensed Milk with Just 3 Ingredients
If you love creamy, sweet condensed milk but want to cut down on sugar, this 3-ingredient sugar-free condensed milk recipe is a game changer. It’s rich, smooth, and perfectly sweet without using refined sugar—making it ideal for low-carb, diabetic-friendly, or healthier dessert options.
Whether you’re making coffee drinks, desserts, or baked goods, this homemade version delivers all the indulgence of traditional condensed milk with none of the guilt. Best of all, it’s incredibly easy to prepare using just a few simple ingredients you may already have in your kitchen.
Why You’ll Love This Recipe
-
Sugar-Free: Perfect for those reducing sugar intake
-
Only 3 Ingredients: Simple and budget-friendly
-
Quick to Make: Ready in under 20 minutes
-
Versatile: Works in desserts, drinks, and baking
-
Customizable Sweetness: Adjust to your taste
The 3 Ingredients
-
2 cups whole milk (or heavy cream for a richer version)
-
2–3 tablespoons butter
-
⅓–½ cup sugar-free sweetener (like erythritol, stevia blend, or monk fruit)
Tip: Powdered sweeteners dissolve better and give a smoother texture.
Instructions
1. Combine Ingredients
In a medium saucepan, add the milk, butter, and sugar-free sweetener. Stir well to combine before turning on the heat.
2. Simmer Gently
Place the saucepan over medium-low heat. Allow the mixture to gently simmer—do not boil rapidly. Stir occasionally to prevent sticking or burning.
3. Reduce the Mixture
Continue simmering for 15–20 minutes, or until the liquid reduces by about half. The mixture will thicken gradually and take on a creamy consistency similar to traditional condensed milk.
4. Cool and Thicken
Remove from heat and let it cool. The mixture will thicken further as it cools, reaching the classic condensed milk texture.
5. Store
Transfer to a clean jar or airtight container and refrigerate. It will keep for up to 5–7 days.
Tips for Best Results
-
Low Heat is Key: High heat can cause separation or burning
-
Stir Occasionally: Prevents sticking and ensures even cooking
-
Use Heavy Cream for Richness: For a thicker, creamier result
-
Adjust Sweetness: Taste and tweak the sweetener to your preference
-
Blend if Needed: If texture isn’t smooth, blend briefly for a silky finish
How to Use Sugar-Free Condensed Milk
This homemade version works just like traditional condensed milk:
-
Coffee & Tea: Add a spoonful for a creamy, sweet touch
-
Desserts: Use in cheesecakes, fudge, or no-bake treats
-
Baking: Perfect for cakes, cookies, and bars
-
Drizzles & Toppings: Pour over pancakes, waffles, or fruit
-
Ice Cream Base: Use as a base for homemade sugar-free ice cream
Variations
-
Vanilla Flavor: Add 1 teaspoon vanilla extract after cooking
-
Chocolate Version: Stir in 1–2 tablespoons cocoa powder
-
Dairy-Free Option: Use coconut milk and vegan butter
-
Caramel Style: Cook slightly longer for a deeper, caramel-like flavor
Nutritional Benefits
This sugar-free condensed milk offers several advantages:
-
Lower in Sugar: Suitable for low-carb or diabetic diets
-
Customizable Calories: Adjust fat and sweetness levels
-
No Artificial Preservatives: Homemade and clean ingredients
-
Keto-Friendly Option: When using appropriate sweeteners
It’s a great alternative for those who want to enjoy sweet treats without the sugar spike.
Common Mistakes to Avoid
-
Boiling Too Fast: Can cause curdling or uneven texture
-
Using Granulated Sweetener Only: May result in graininess
-
Not Reducing Enough: Leads to a thin consistency
-
Overcooking: Can make it too thick or sticky
Storage and Shelf Life
-
Store in an airtight container in the refrigerator
-
Keeps fresh for up to one week
-
Stir before use if it thickens too much
-
Can be gently reheated to loosen consistency
Final Thoughts
Making sugar-free condensed milk with just 3 ingredients is not only simple but incredibly rewarding. It gives you full control over sweetness, ingredients, and texture while delivering the same creamy richness you love in traditional condensed milk.
Whether you’re following a low-sugar lifestyle or just looking for a healthier alternative, this recipe is a must-have in your kitchen. It’s quick, versatile, and perfect for everything from morning coffee to decadent desserts.
Once you try this homemade version, you may never go back to store-bought again. It’s proof that with just a few simple ingredients, you can create something both delicious and better for you.