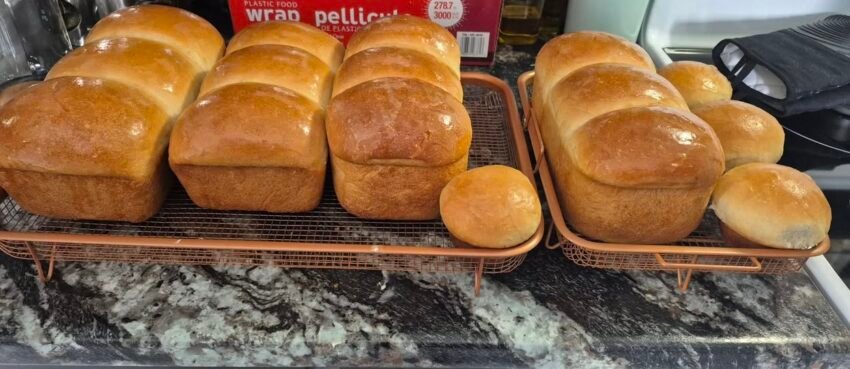
Pre-Storm Bread (Soft, Simple, and Comforting)
Pre-Storm Bread is one of those old-fashioned recipes that shows up when the sky turns gray and you know you won’t be leaving the house anytime soon. It’s the bread you bake before the storm hits—made with basic pantry staples, no fancy ingredients, and no complicated techniques. Warm, soft, and lightly sweet, this loaf is perfect for butter, jam, or a bowl of soup while the wind howls outside.
This is not a crusty artisan bread. Pre-Storm Bread is tender, reliable, and comforting—the kind of bread meant to be sliced thick, toasted, or eaten warm straight from the pan. It’s designed to be forgiving, even if your power flickers or the humidity is high.
Why It’s Called Pre-Storm Bread
Historically, this kind of bread was made when people knew bad weather was coming. It uses:
-
Pantry staples
-
No special equipment
-
No long fermentation
-
Ingredients you likely already have
It’s practical, calming to make, and fills your kitchen with warmth when the world outside feels uncertain.
Ingredients
Makes 1 hearty loaf
-
3 cups all-purpose flour
-
1 tablespoon sugar
-
1 teaspoon salt
-
1 packet (2¼ teaspoons) active dry yeast
-
1 cup warm water (about 110°F)
-
2 tablespoons oil or melted butter
Instructions
1. Activate the Yeast
In a large bowl, combine warm water and sugar. Sprinkle yeast over the top and let sit for 5–10 minutes until foamy.
2. Make the Dough
Add oil (or butter) and salt to the yeast mixture. Gradually stir in the flour until a soft dough forms.
3. Knead
Turn dough onto a lightly floured surface and knead for 5–7 minutes until smooth and elastic. The dough should feel soft but not sticky.
4. First Rise
Place dough in a lightly oiled bowl, cover, and let rise in a warm spot for 45–60 minutes, or until doubled in size.
5. Shape the Loaf
Punch down the dough and shape into a loaf. Place into a greased loaf pan or shape into a round and place on a baking sheet.
6. Second Rise
Cover loosely and let rise for 20–30 minutes while you preheat the oven to 375°F (190°C).
7. Bake
Bake for 30–35 minutes, until golden brown and hollow-sounding when tapped.
8. Cool Slightly and Serve
Let cool for at least 10 minutes before slicing. Serve warm with butter or honey.
Tips for Perfect Pre-Storm Bread
-
If the air is humid, add flour gradually
-
If it’s cold, let the dough rise in the oven with the light on
-
Don’t overbake—this bread is meant to stay soft
-
Brush with butter after baking for a tender crust
Variations
No-Egg, No-Milk Friendly
This recipe is naturally dairy-free and egg-free.
Slightly Sweet
Add an extra tablespoon of sugar or a drizzle of honey.
Savory Version
Add ½ teaspoon garlic powder or dried herbs.
Emergency No-Oven Version
Cook in a covered cast-iron skillet over low heat, flipping halfway through.
Storage
-
Room temperature: Wrapped, up to 2 days
-
Refrigerator: Up to 5 days
-
Freezer: Slice and freeze up to 2 months
Serving Ideas
-
With soup or stew
-
Toasted with butter and jam
-
Grilled cheese sandwiches
-
Dipped in olive oil or broth
Final Thoughts
Pre-Storm Bread is more than just food—it’s preparation, comfort, and a little peace of mind baked into a loaf. When the weather turns rough, this simple bread reminds you that warmth and nourishment can still come from your own kitchen.