Homemade Sourdough Pizzas
Homemade sourdough pizza is the perfect combination of crispy, chewy crust and deep, naturally developed flavor. Using sourdough starter instead of commercial yeast creates a pizza dough that’s easier to digest, full of character, and incredibly satisfying. While sourdough pizza does take a little planning, the results are absolutely worth it.
This guide walks you through everything you need to know to make perfect homemade sourdough pizzas, from dough preparation to baking tips and topping ideas.
Why Use Sourdough for Pizza?
Sourdough pizza stands out because of its:
-
Light, airy texture with a chewy bite
-
Crisp crust with beautiful bubbles
-
Complex, slightly tangy flavor
-
Natural fermentation process
The long fermentation allows gluten to relax and flavors to develop, making the pizza crust both delicious and easier on the stomach for many people.
Ingredients
For the Sourdough Pizza Dough
-
1 cup (240 g) active sourdough starter
-
1 cup (240 ml) warm water
-
3 to 3½ cups (375–440 g) bread flour or all-purpose flour
-
2 tablespoons olive oil
-
1½ teaspoons salt
For Topping (Suggestions)
-
Pizza sauce or crushed tomatoes
-
Fresh mozzarella or shredded cheese
-
Olive oil
-
Fresh basil
-
Pepperoni, mushrooms, onions, peppers, or olives
Step-by-Step Instructions
Step 1: Mix the Dough
In a large bowl, combine the sourdough starter and warm water. Stir until mostly dissolved. Add olive oil and salt, then gradually mix in the flour until a soft dough forms.
Turn the dough out onto a floured surface and knead for about 5–7 minutes until smooth and elastic. The dough should be slightly tacky but not sticky.
Step 2: Bulk Fermentation
Place the dough in a lightly oiled bowl and cover. Let it ferment at room temperature for 4–6 hours, performing one or two stretch-and-folds during the first two hours if desired.
The dough should become puffy and increase in size, though it may not fully double.
Step 3: Cold Fermentation (Recommended)
For best flavor and texture, place the covered dough in the refrigerator for 12–48 hours. This slow fermentation develops that signature sourdough taste and improves crust structure.
Step 4: Divide and Rest
Remove the dough from the fridge and let it come to room temperature for 1–2 hours. Divide into 2–3 equal portions, depending on pizza size.
Shape each portion into a ball, cover lightly, and let rest for 30–45 minutes. This relaxes the gluten and makes shaping easier.
Step 5: Preheat the Oven
Preheat your oven to 475–500°F (245–260°C) for at least 30 minutes. Place a pizza stone or steel inside if you have one—this is key to a crispy crust.
Step 6: Shape the Pizza
On a floured surface, gently press each dough ball into a circle, leaving a thicker edge for the crust. Avoid using a rolling pin, which can deflate the air bubbles developed during fermentation.
Transfer the shaped dough to parchment paper or a floured pizza peel.
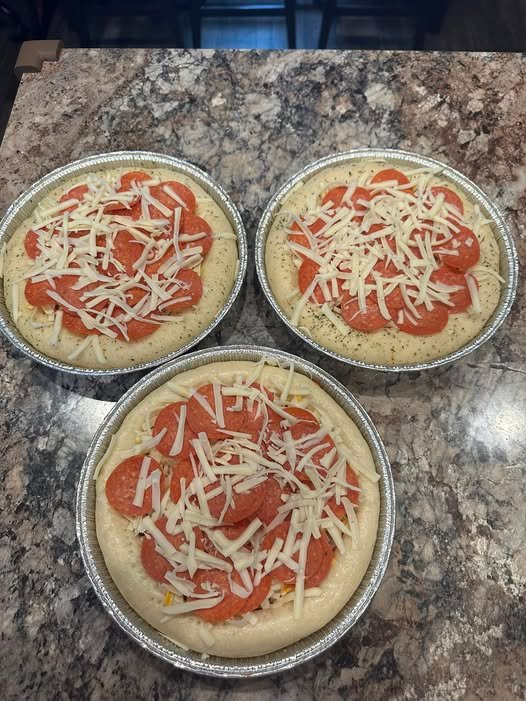
Step 7: Add Toppings
Spread a thin layer of sauce over the dough. Add cheese and toppings sparingly—overloading can prevent the crust from baking properly.
Finish with a drizzle of olive oil.
Step 8: Bake
Slide the pizza onto the hot stone or baking sheet. Bake for 8–12 minutes, or until the crust is golden with charred spots and the cheese is bubbling.
Remove from the oven and let rest for a minute before slicing.
Tips for Perfect Sourdough Pizza
-
Use an active, bubbly starter for best rise
-
High hydration dough creates bigger air pockets
-
Less sauce = crispier crust
-
A hot oven is non-negotiable
Topping Ideas
-
Classic Margherita: Tomato sauce, fresh mozzarella, basil
-
Veggie Supreme: Mushrooms, peppers, onions, olives
-
White Pizza: Olive oil, garlic, ricotta, mozzarella
-
Spicy: Pepperoni, chili flakes, hot honey
Storage & Make-Ahead Tips
-
Dough can be refrigerated for up to 3 days
-
Freeze dough balls for up to 2 months
-
Baked pizza reheats best in a hot skillet or oven
Final Thoughts
Homemade sourdough pizzas bring bakery-quality results straight to your kitchen. With a little patience and a hot oven, you’ll create pizzas with incredible flavor, texture, and crunch—far better than takeout.
Once you master the basics, the topping possibilities are endless.