Crunch Bars
Crunch Bars are a classic sweet treat loved for their irresistible combination of smooth chocolate and crispy texture. These homemade crunch bars are incredibly easy to prepare and require only a few ingredients. They deliver the same delightful snap and crunch you expect from a chocolate bar, making them perfect for snacks, desserts, or homemade gifts.
What makes these bars so popular is the contrast between creamy melted chocolate and light crispy rice cereal. Each bite offers a satisfying crunch followed by rich chocolate flavor. Best of all, this recipe requires no baking, so it’s quick enough to make anytime a chocolate craving strikes.
Why You’ll Love This Recipe
Homemade crunch bars are great for many reasons:
- Only a few simple ingredients
- No baking required
- Quick to prepare
- Perfect for kids and adults
- Easy to customize with different flavors
They are ideal for lunchbox treats, parties, or whenever you want a homemade chocolate snack.
Ingredients
- 2 cups milk chocolate chips
- 1 cup semi-sweet chocolate chips (optional for richer flavor)
- 2 cups crispy rice cereal
- 1 tablespoon coconut oil or butter (optional, for smoother melting)
Instructions
1. Prepare the Pan
Line an 8×8-inch baking pan with parchment paper. Leave some overhang on the sides so the bars can be lifted out easily later.
2. Melt the Chocolate
In a microwave-safe bowl, combine the chocolate chips and coconut oil (or butter).
Microwave in 30-second intervals, stirring between each interval until the chocolate is completely melted and smooth.
Alternatively, you can melt the chocolate using a double boiler over low heat.
3. Add the Crispy Cereal
Once the chocolate is melted, gently fold in the crispy rice cereal.
Stir carefully until all the cereal is evenly coated with chocolate.
4. Spread the Mixture
Pour the chocolate mixture into the prepared pan.
Use a spatula to spread it evenly and gently press it down to create a smooth surface.
5. Chill Until Firm
Place the pan in the refrigerator for 1–2 hours, or until the chocolate is fully set.
6. Cut Into Bars
Once firm, lift the mixture out of the pan using the parchment paper.
Place it on a cutting board and slice into squares or bars using a sharp knife.
Tips for Perfect Crunch Bars
Use good-quality chocolate
The better the chocolate, the better the flavor.
Do not crush the cereal
Mix gently so the cereal stays light and crispy.
Let them chill fully
This helps the bars hold their shape when cut.
Add a pinch of salt
A small amount of sea salt enhances the chocolate flavor.
Delicious Variations
These bars are easy to customize with fun additions.
Peanut Butter Crunch Bars
Stir in ½ cup melted peanut butter with the chocolate before adding the cereal.
Cookies and Cream Crunch Bars
Mix in crushed chocolate sandwich cookies for extra flavor.
White Chocolate Crunch Bars
Use white chocolate chips instead of milk chocolate.
Nutty Crunch Bars
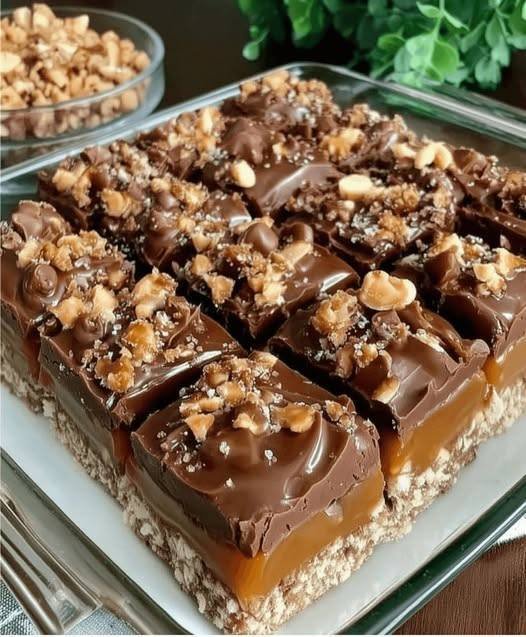
Add chopped almonds, peanuts, or hazelnuts for extra texture.
Caramel Crunch Bars
Drizzle caramel sauce on top before chilling.
Storage
Crunch bars store very well and can be prepared in advance.
- Room temperature: Store in an airtight container for up to 5 days.
- Refrigerator: Keeps fresh for up to 2 weeks.
- Freezer: Can be frozen for up to 2 months.
If freezing, separate layers with parchment paper.
Serving Ideas
These crunchy chocolate bars are great for:
- Party dessert trays
- Lunchbox snacks
- Holiday treat platters
- Homemade gifts
- After-school snacks
You can also crumble them over ice cream for a delicious crunchy topping.
Final Thoughts
Homemade Crunch Bars are one of the easiest and most satisfying chocolate treats you can make. With just a few ingredients and minimal preparation time, you can create a batch of crispy, chocolatey bars that everyone will love.
Whether you enjoy them as a quick snack, a dessert for gatherings, or a fun kitchen project with kids, these crunchy chocolate bars are guaranteed to disappear quickly. Once you try making them at home, they may become one of your favorite simple desserts.