Gluten-Free Bread
Soft, Fluffy & Homemade
Making gluten-free bread can feel tricky, but with the right combination of flours, starches, and a bit of patience, you can enjoy tender, sliceable bread that rivals traditional loaves. This recipe produces a loaf with a soft crumb, slightly golden crust, and the perfect texture for sandwiches, toast, or snacking.
Ingredients (1 standard loaf)
-
1¾ cups gluten-free all-purpose flour (with xanthan gum included)
-
½ cup gluten-free oat flour
-
¼ cup tapioca starch or potato starch
-
2 tsp baking powder
-
1 tsp salt
-
2 tbsp sugar or honey
-
2½ tsp active dry yeast (1 packet)
-
¾ cup warm milk (or dairy-free milk)
-
2 large eggs, room temperature
-
2 tbsp olive oil or melted butter
-
1 tsp apple cider vinegar
Optional toppings:
-
Sesame seeds, poppy seeds, or oats
Step 1: Activate the Yeast
-
In a small bowl, combine warm milk, sugar (or honey), and yeast.
-
Let sit 5–10 minutes until foamy.
This step ensures the yeast is active and will help your bread rise.
Step 2: Mix Dry Ingredients
In a large bowl, whisk together:
-
Gluten-free all-purpose flour
-
Oat flour
-
Tapioca starch
-
Baking powder
-
Salt
Step 3: Combine Wet Ingredients
In another bowl, whisk together:
-
Eggs
-
Olive oil or melted butter
-
Apple cider vinegar
Step 4: Make the Dough
-
Pour wet ingredients and yeast mixture into the dry ingredients.
-
Mix thoroughly with a spatula or hand mixer until a thick, slightly sticky batter forms.
-
Gluten-free bread batter is generally more like a thick cake batter than traditional bread dough.
-
Step 5: First Rise
-
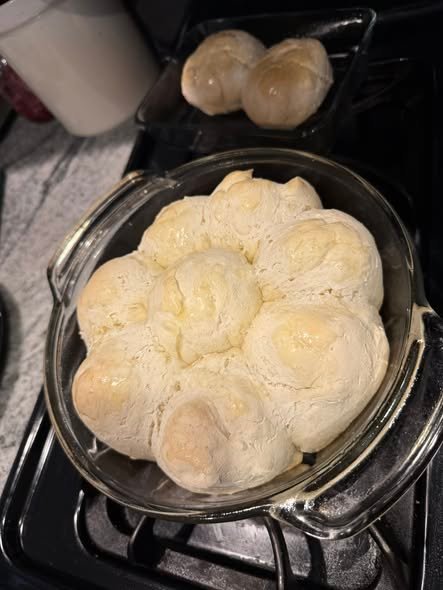
Grease a 9×5 inch loaf pan and pour in the dough.
-
Smooth the top with a spatula.
-
Cover loosely and let rise in a warm place for 45–60 minutes, until slightly puffy.
Step 6: Bake
-
Preheat oven to 180°C (350°F).
-
Bake for 40–50 minutes, until the loaf is golden brown and a toothpick inserted comes out clean.
-
Optional: Brush the top with melted butter for a soft crust and add seeds or oats before baking.
Step 7: Cool
-
Let the bread cool completely in the pan for 10–15 minutes, then transfer to a wire rack.
-
Cooling is crucial for slicing cleanly without crumbling.
Tips for Success
-
Do not skip apple cider vinegar—it helps improve structure.
-
Use room temperature eggs for better rise.
-
Cool completely before slicing. Gluten-free bread is delicate when hot.
-
Store in an airtight container or wrap in plastic wrap to keep fresh.
Variations
Dairy-Free
Use almond, oat, or soy milk instead of cow’s milk.
Seeded GF Bread
Add 2–3 tbsp chia seeds, flax seeds, or sunflower seeds to the batter.
Sweet GF Bread
Add 2–3 tbsp honey or maple syrup and ½ tsp cinnamon for a lightly sweet loaf.
Storage
-
Room temperature: 2–3 days in an airtight container
-
Refrigerator: up to 5 days
-
Freezer: up to 2 months, slice before freezing
Final Thoughts
This gluten-free bread is soft, versatile, and easy to make at home. Whether you want toast, sandwiches, or a simple slice with butter, it delivers a satisfying texture and flavor that works for everyday meals. With small adjustments, you can create seeded, sweet, or dairy-free variations to suit your needs.